polski
 español

 Monika Borowiec
Quizzes - a new module available in the CMS 4media system
Where to find new features?
The Quizzes button is located in the left side menu of the 4media CMS administration panel.
Inside the module, you will find:
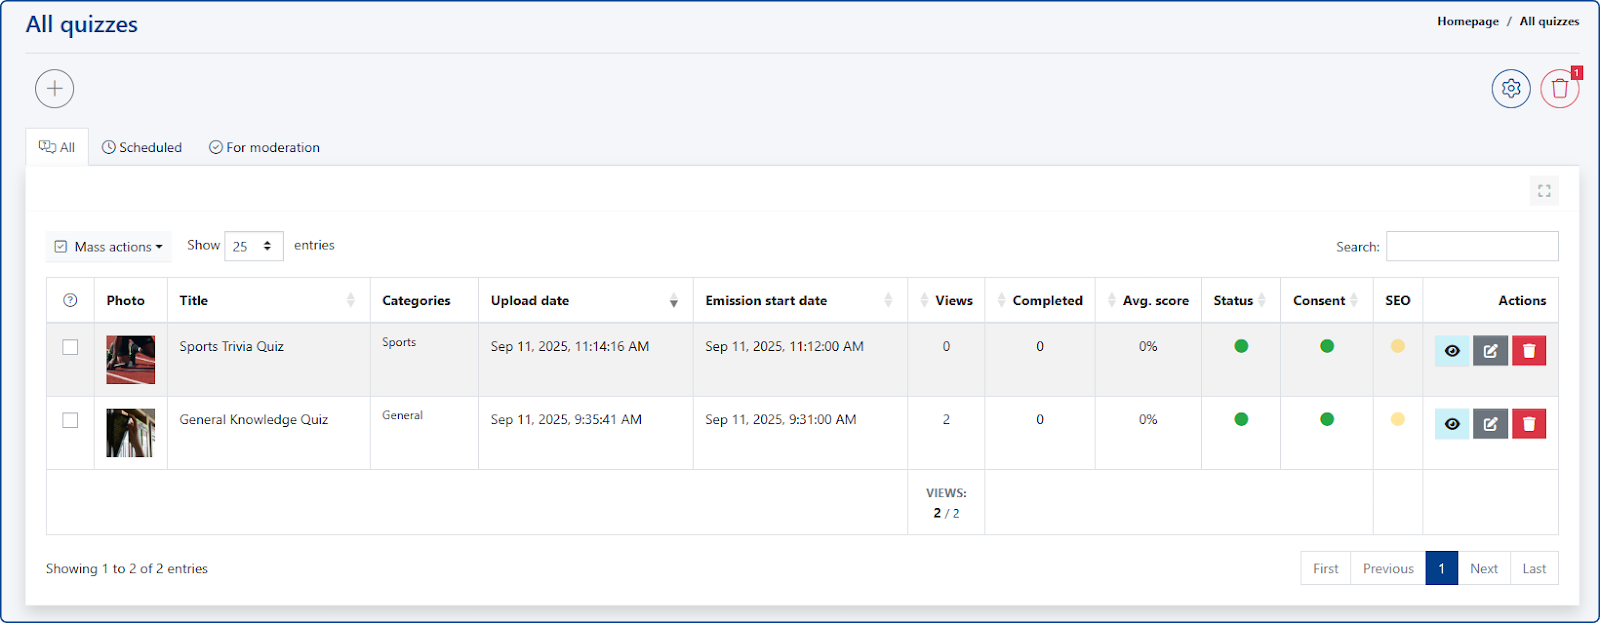
- List of quizzes - divided into tabs: All, Scheduled, and For moderation.

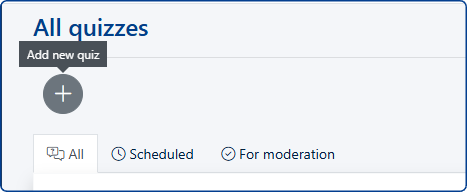
- [Add new quiz] button (upper left corner) - clicking it will open a blank form.
- Recycling bin (upper right corner) - goes to the list of quizzes moved to the trash.
- Settings (upper right corner) - this button takes you directly to the Settings > Quizzes module.
List of available settings: Includes default settings for response comments and general module behavior.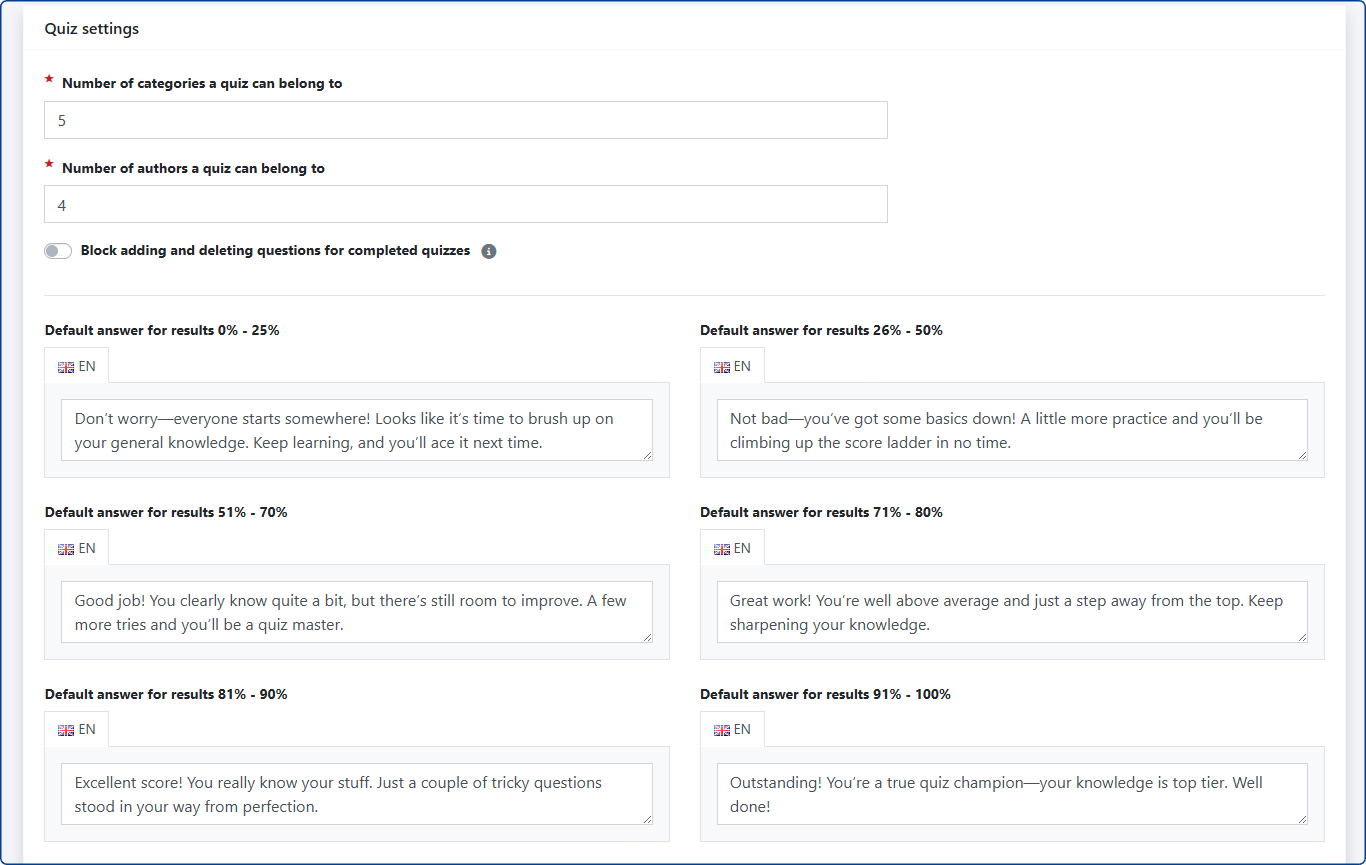
Adding a new quiz
After clicking on the [Add new quiz] button, you will be taken to a blank form where you can fill in the following fields:
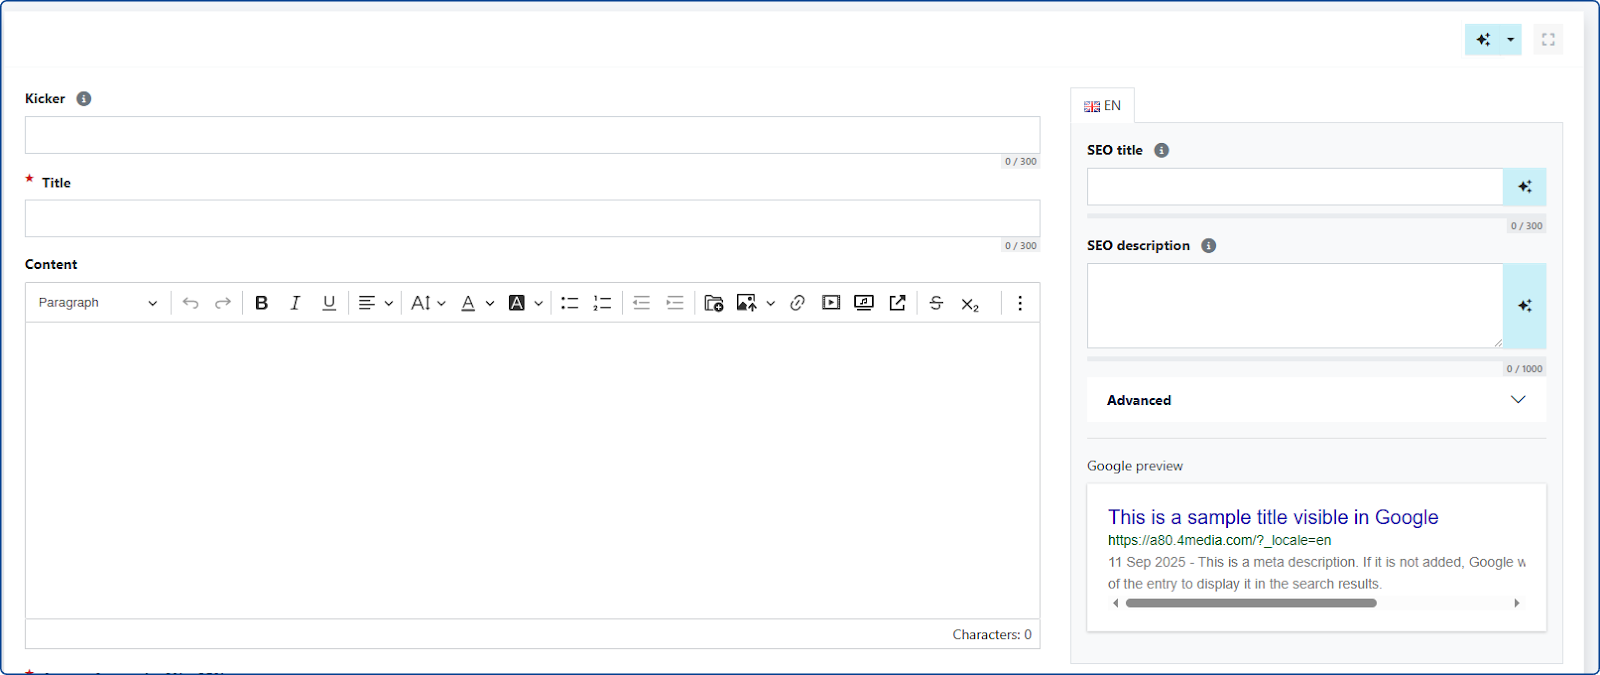
- Quiz title
- Kicker (optional)
- Content - a description designed to encourage readers to take part in the quiz.
- SEO fields
Quiz settings:
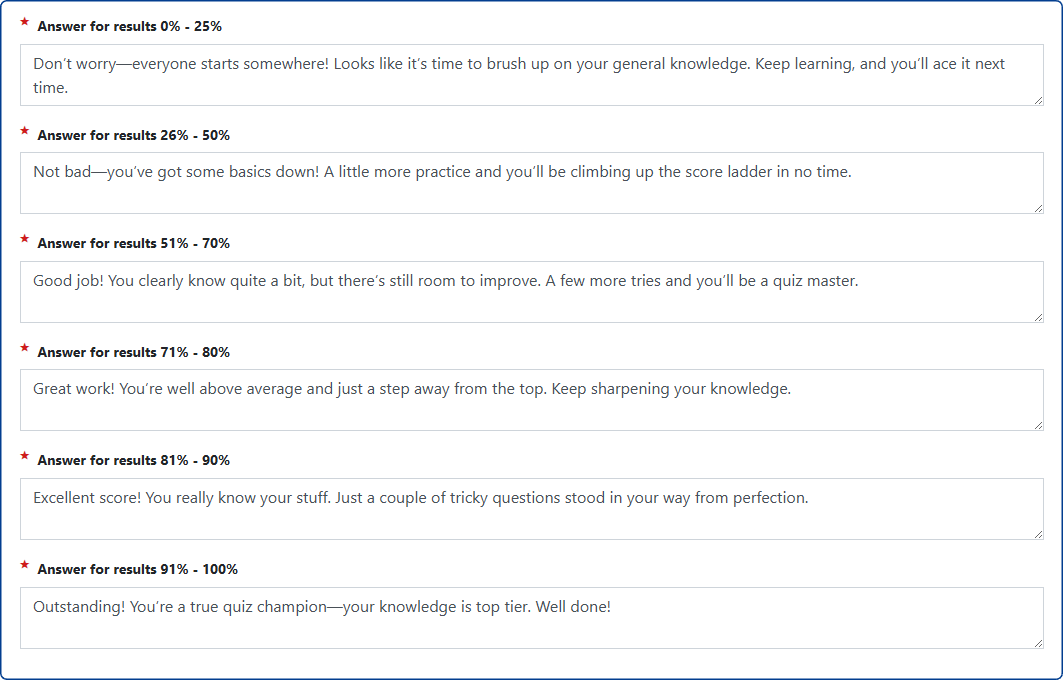
- User results summary (Answer for results) - a comment that the reader will see after completing the quiz.
- Note: If the "default answers" fields are filled in the Settings > Quizzes tab, they will be automatically filled in when creating a new quiz - however, they can be edited for the needs of a specific quiz.
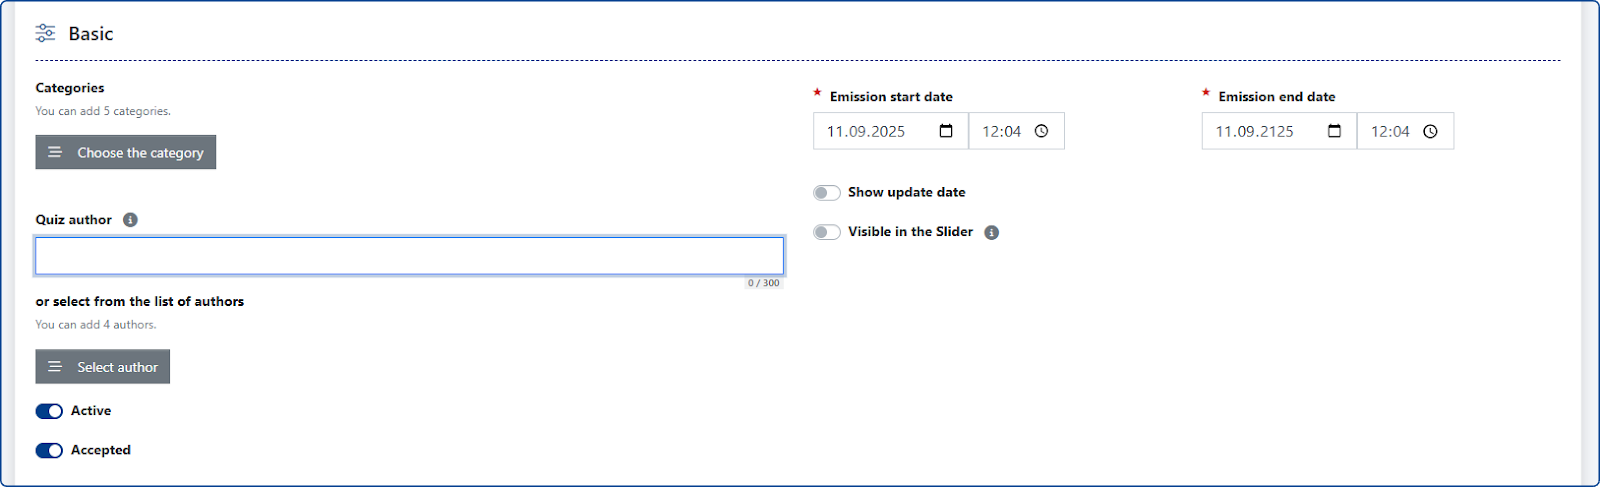
Basic settings, including:
- Selection of subject category - in the Categories > Quizzes module, you can create a category tree for quizzes.
- Author
- Start date
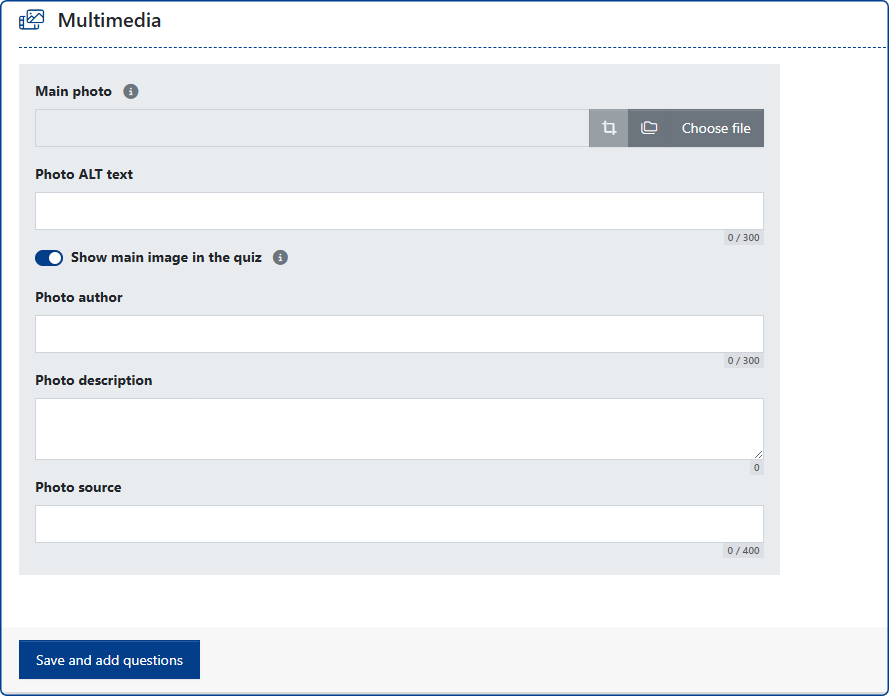
- Main photo selection - this image will be displayed in the widget, on the list of quizzes, and in the tab that starts the quiz
Adding Questions and Answers
After completing all the required settings, you can immediately add questions to the quiz you're creating in the [Questions and Answers] section within the same form.

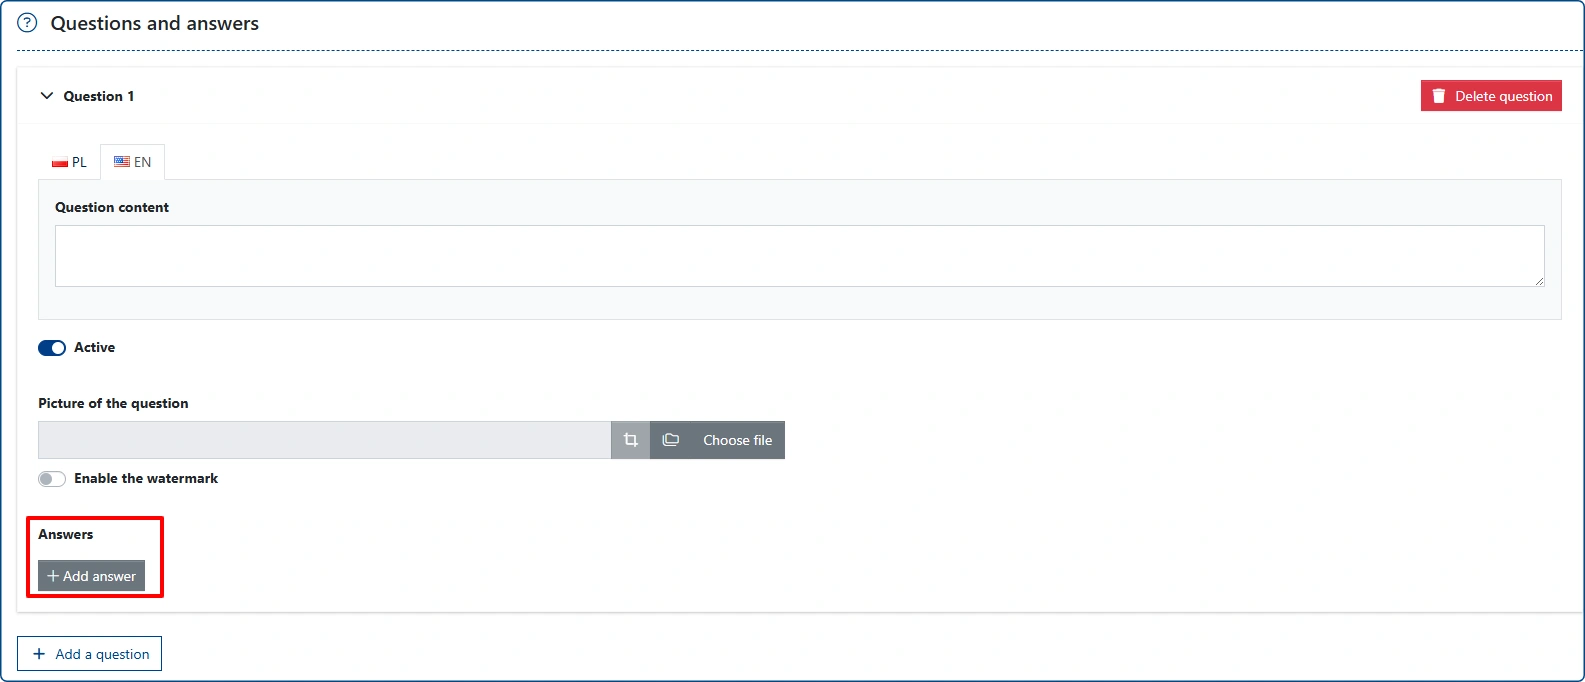
To add a question, click the [+ Add Question] button. A separate window will appear where you can enter the question text and optionally attach an image.
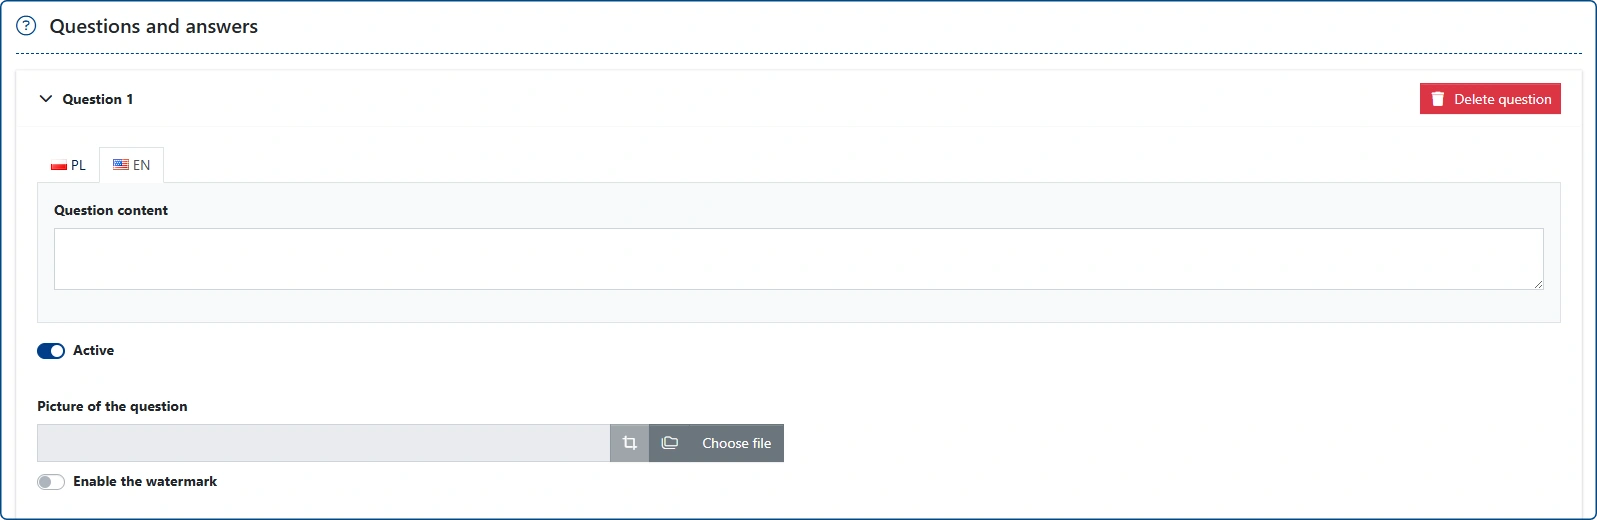
Additionally, for the image, you can enable or disable the watermark specified in the settings. More information about the watermark can be found in the dedicated article.
Answers are added by clicking the [+ Add Answer] button.
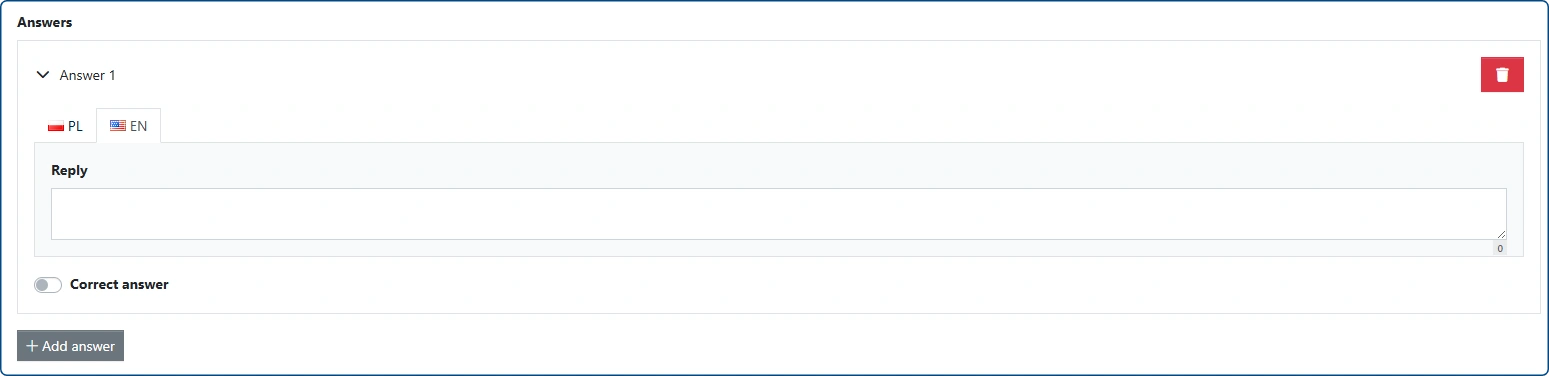
Another window will then appear, where you can enter the answer text and use the toggle to indicate whether it is the correct answer.
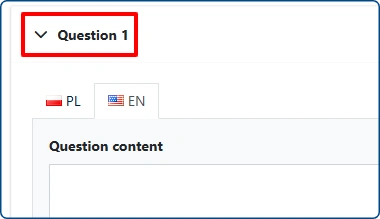
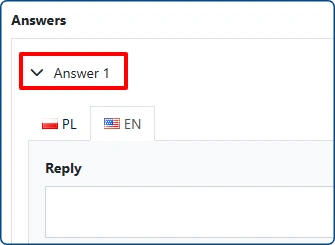
Tip: Both the question and answer panels can be collapsed by clicking the arrow icon on the left side of the [Question 1] or [Answer 1] header (depending on the number of questions and answers).
 |  |
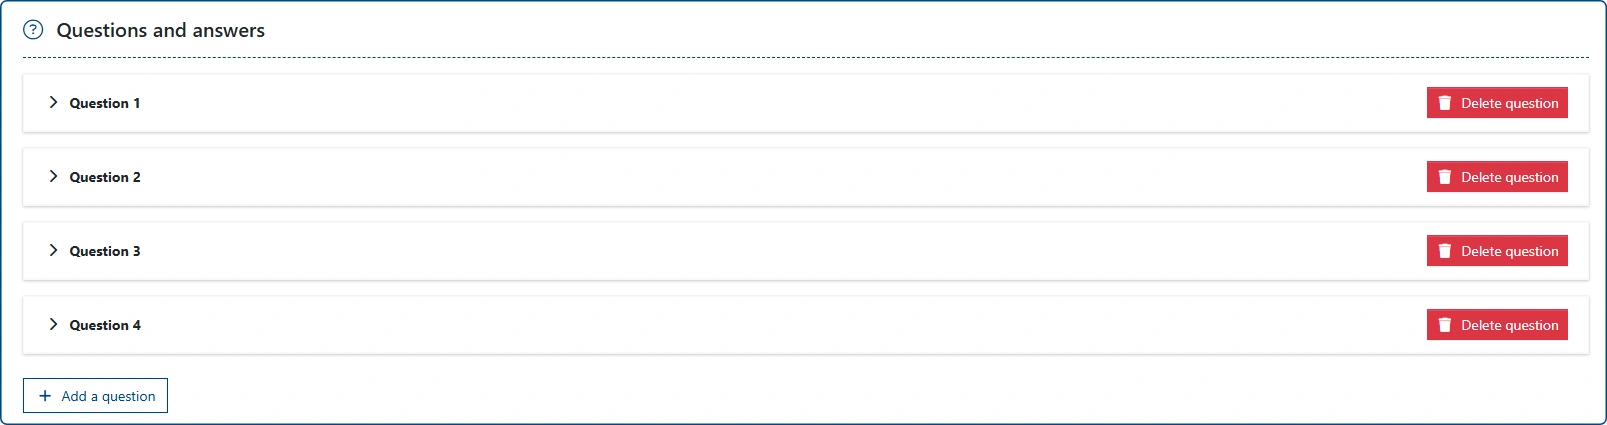
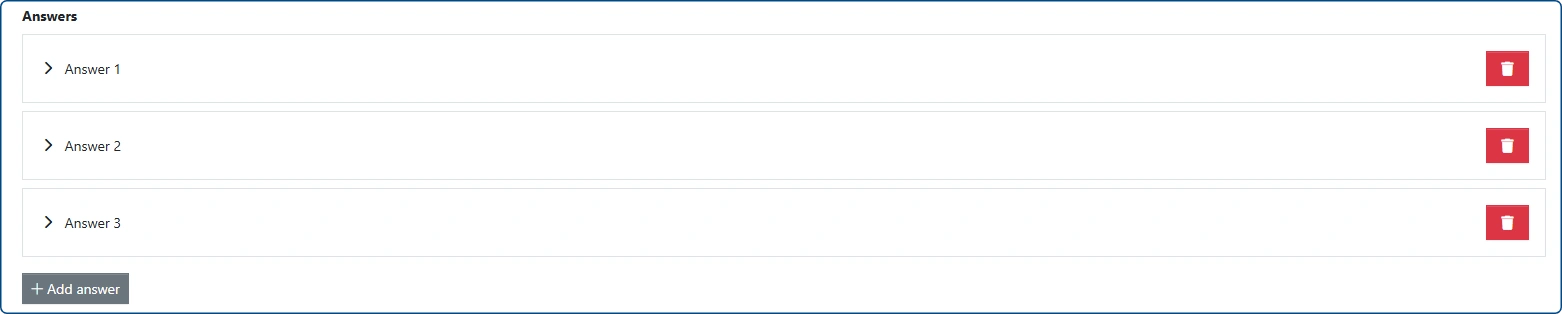
Once all the required fields have been completed, click the [Create a new quiz] button to save your changes and publish the quiz, or schedule it for publication if a future start date has been selected.

Important: When editing a previously created quiz, the list of questions is displayed as follows:
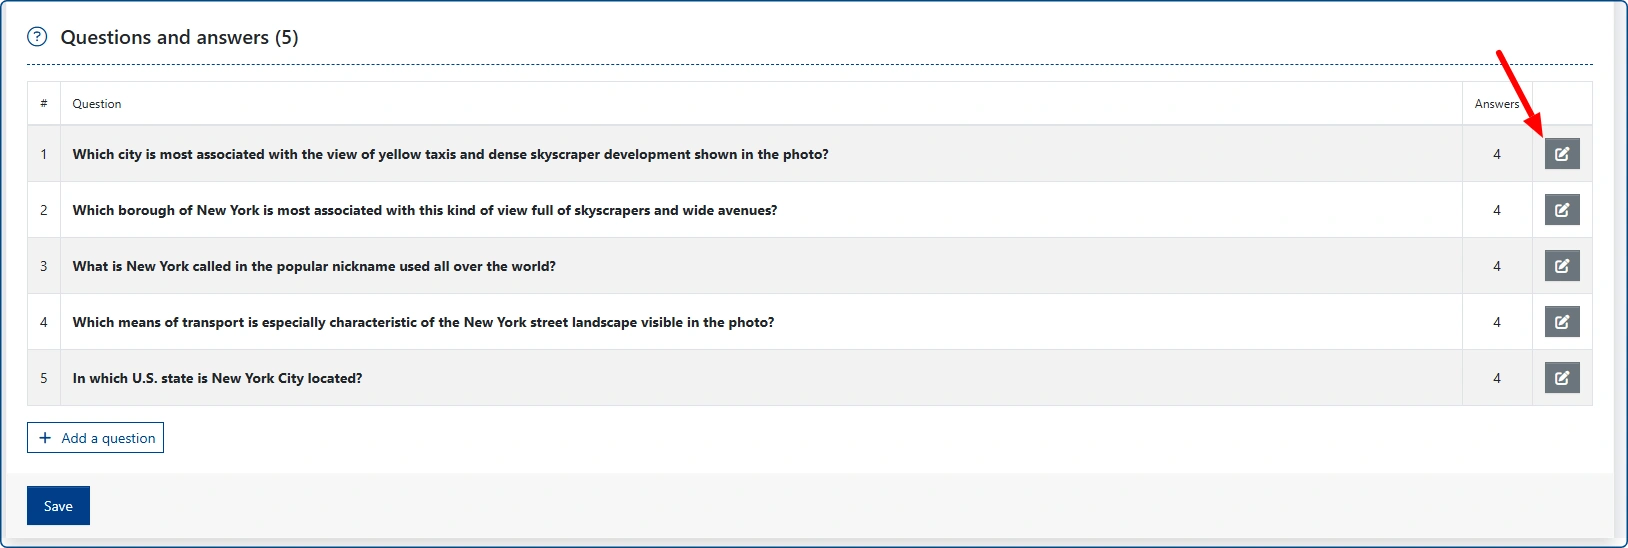
The gray Edit button on the right-hand side (indicated by the arrow) opens a separate form for editing the selected question.
The same applies when adding new questions to an existing quiz (provided this option has not been disabled in the global settings). Use the blue [+ Add a question] button in the bottom-left corner for this purpose.
The form for adding another question to an existing quiz is shown below:
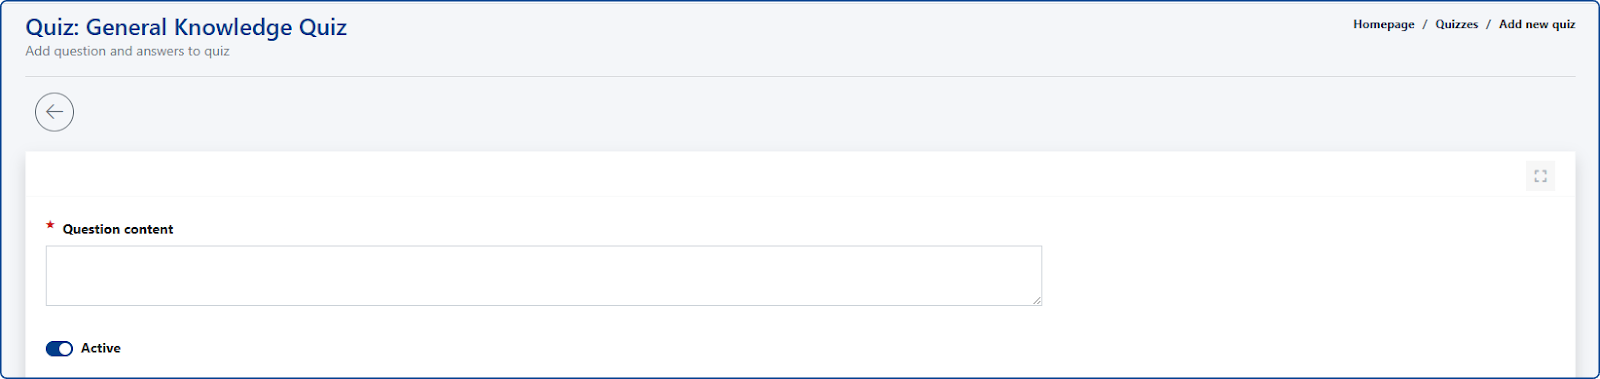
The question can still include:
- Text
- Photo + text
Answers are added by clicking the gray [Add Answer] button.
The system will display additional fields.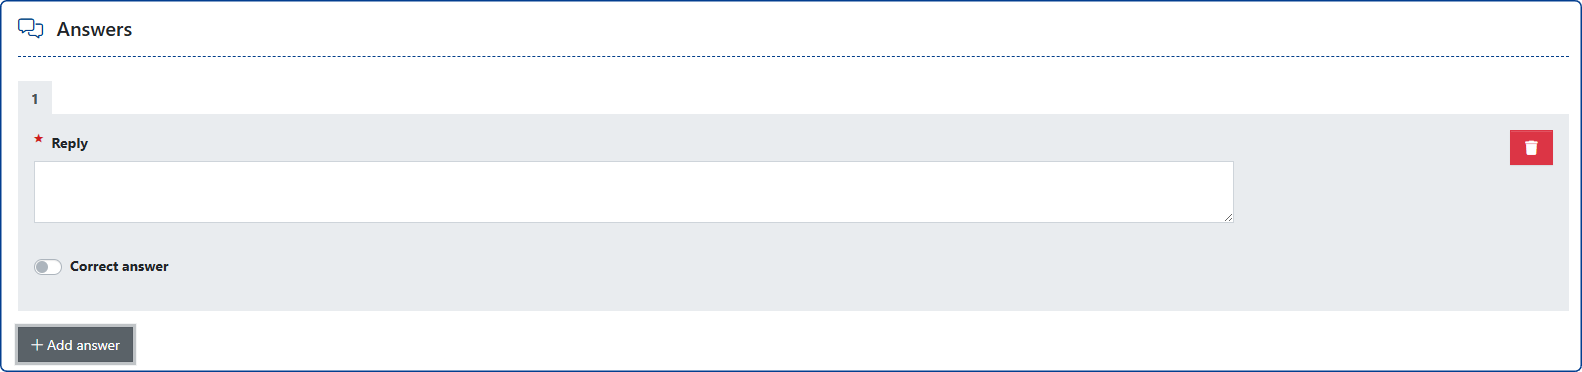
- Important: Remember to mark one of the answers you enter as the correct one.
After entering all answers, click the blue [Save] button. After saving the changes, the CMS system will display a tab summarizing the quiz details and the first question.
- [Edit] button (upper right corner) - takes you to the basic quiz settings (change the title, description, publication date, etc.).

- Adding more questions - to add another question from this view, click the circular button in the upper-left corner of the window. A blank form will open, allowing you to enter a new question and its associated answers.
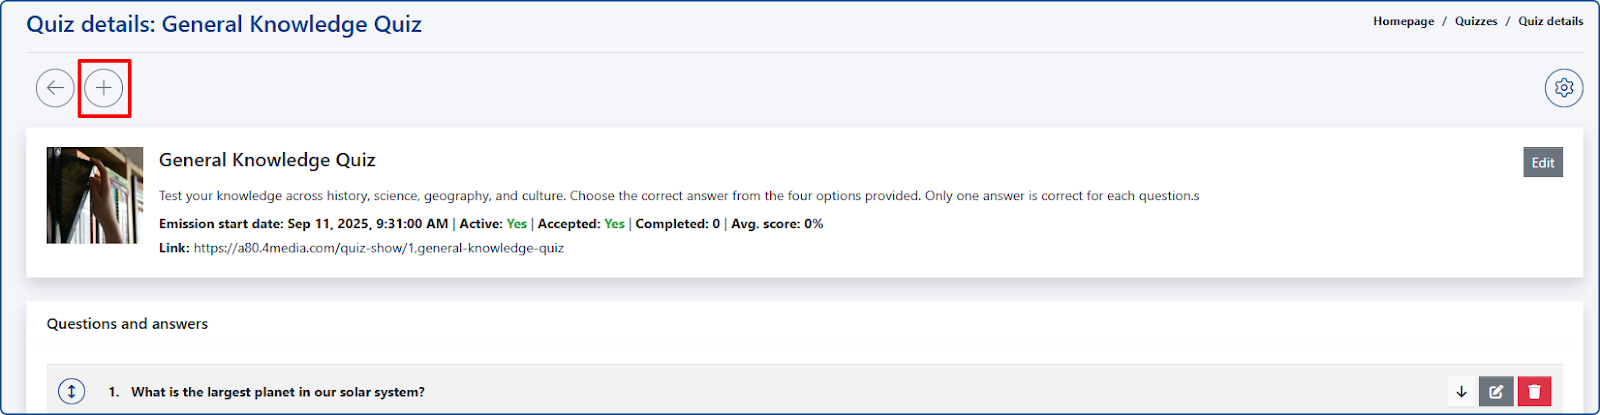
- Detailed information - click on the arrow button to view detailed information about the questions saved in the quiz.

Statistics and Analytics
The list of quizzes visible in the administration panel provides the following information:
- Number of views - each time a reader visits the quiz tab, it counts as +1 view.
- Number of completed quizzes
- Average score - the system adds up the percentage scores of individual readers.
Important!
- In each new template, you can activate advertising widgets or other thematic widgets.
- Traffic Tip: Switching between quiz questions will reload the tab in the browser, which will lead to an increase in the number of page views of the website on a monthly basis.
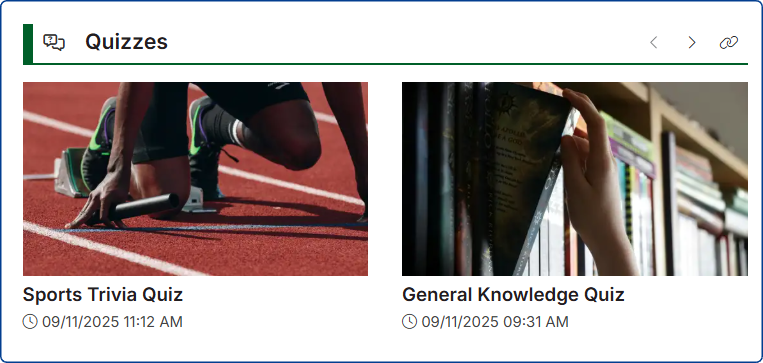
Widget associated with the Quizzes module
The widget allows you to display any number of quizzes in a tile/list layout. To activate the widget, go to the [Page Builder] module > [Edit] selected template and select the widget from the pool of available widgets.

Additional information:
With the activation of the quizzes, four new templates have appeared in the [Page Builder] module:
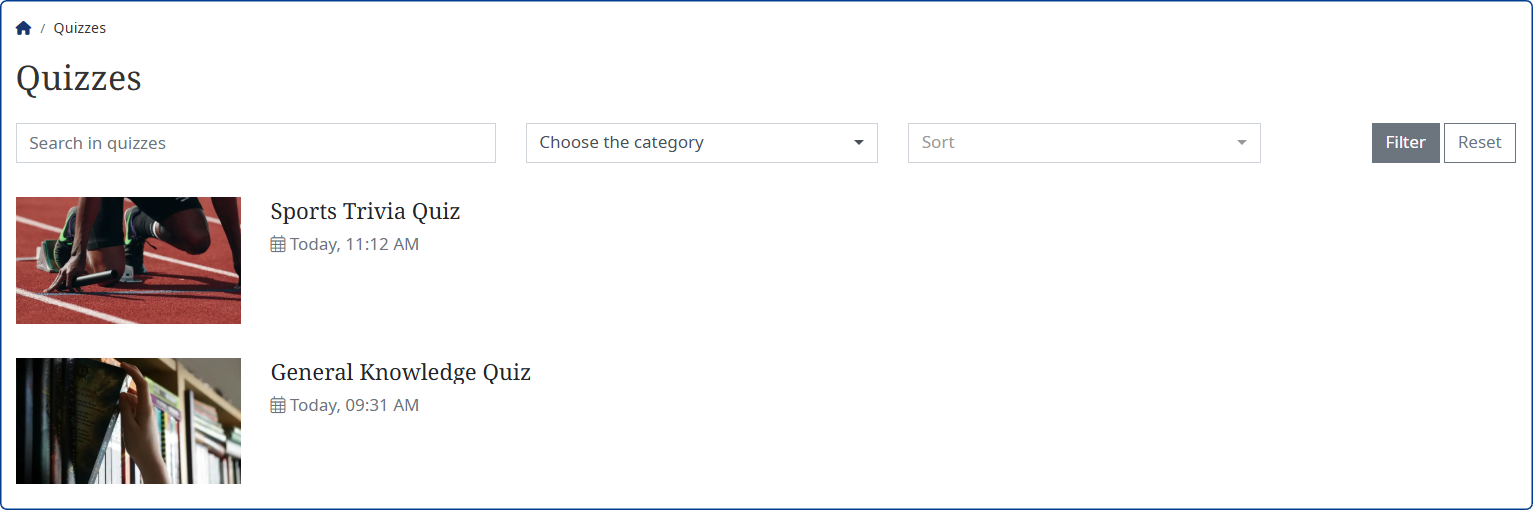
Quizzes - list
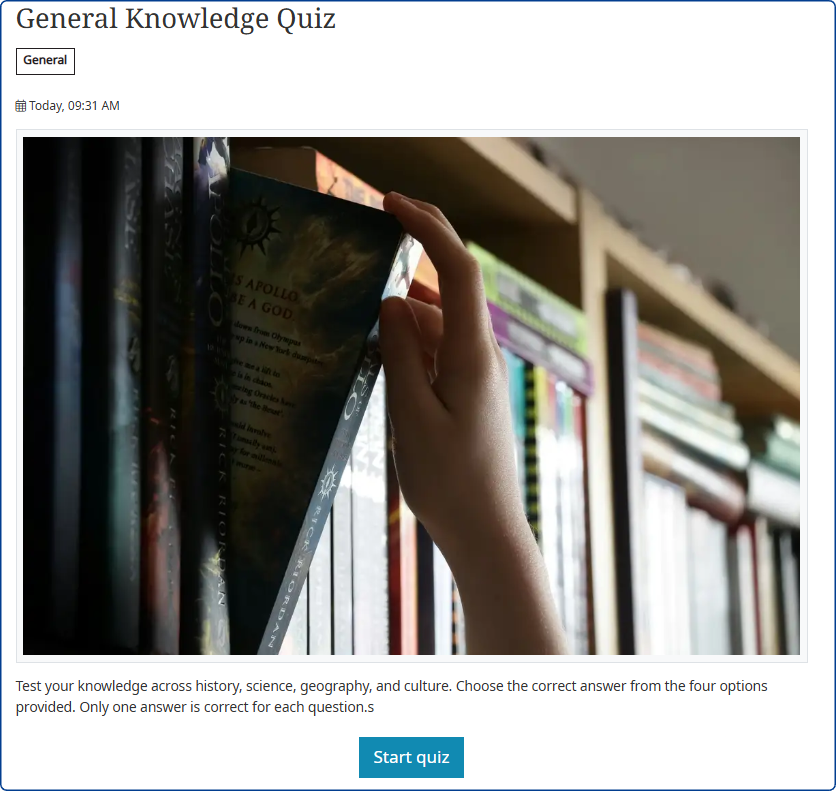
Single quiz - a tab that the reader sees when they start filling out the quiz.
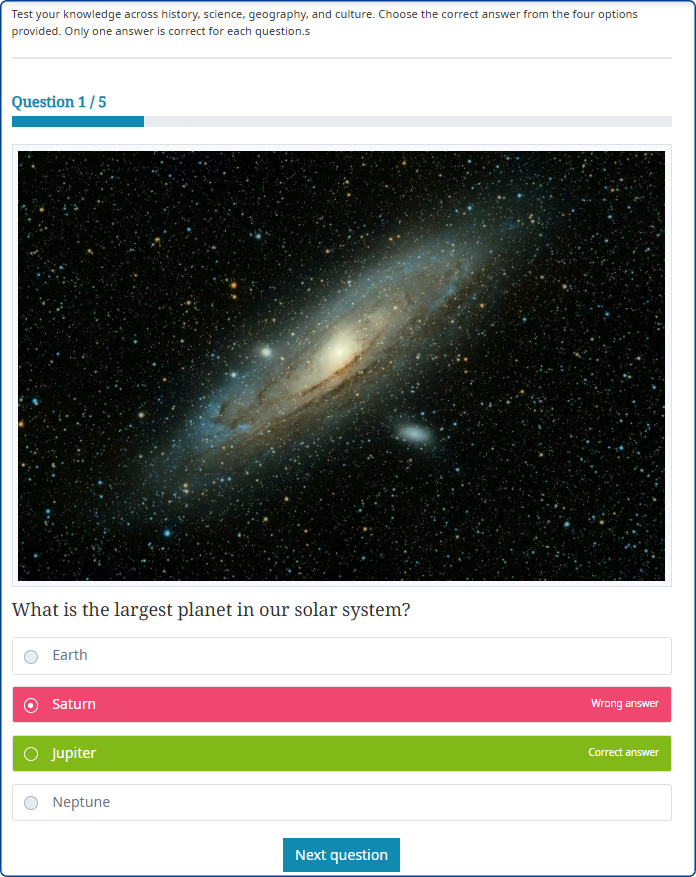
Quiz started - the view that the reader sees while completing the quiz.
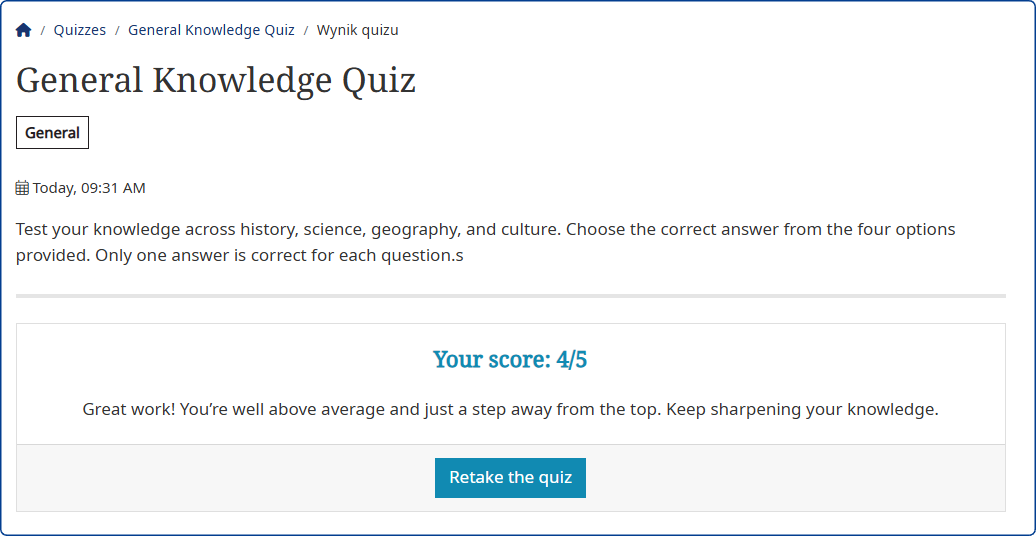
Quizzes - result - the view that the reader sees after completing the entire quiz.
See also: