
Global Watermark Settings
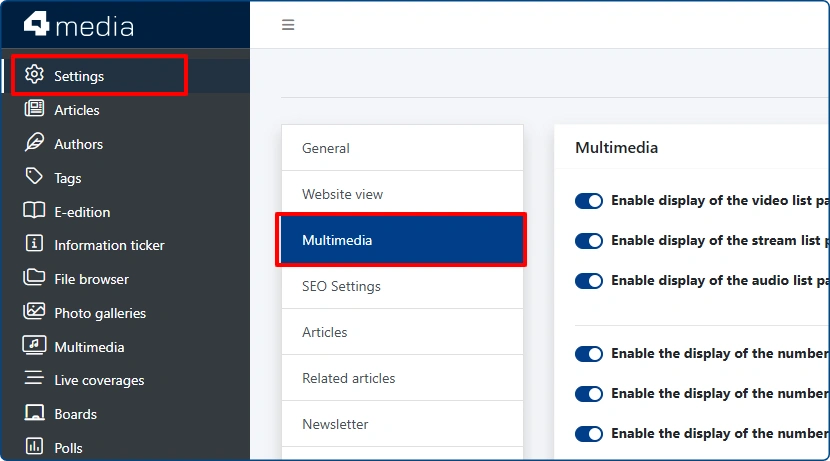
To customize the watermark settings, go to the [Settings] > [Multimedia] module.
Further down the page, a new section named "Watermark" has been added, where you will find the following personalization options:

- Activating the watermark feature per module and setting its default status
Each module includes two dedicated toggles:- Enable the watermark – determines whether the watermark feature is active in a given module.
Enabled by default – an option available only when the first toggle is enabled. It allows you to decide whether the watermark should be automatically activated after adding a main image.
If the [Enabled by default] option remains disabled, the watermark must be activated manually within a specific entry. This solution is useful when only selected publications use the watermark functionality.
- Watermark – a field to select the watermark graphic. It must first be uploaded to the portal's file library; supported formats are png and webp.
- Watermark - location– a grid interface that allows you to adjust the position of the watermark on the photos.
- Vertical / Horizontal spacing / Maximum width – in addition to the position, you can adjust the margins from the edges and the size of the watermark. All values are expressed in pixels.
After configuring all settings, remember to save your changes at the bottom of the page by clicking the dark blue "Save" button.
Configuring the watermark for a featured image in a specific entry
In addition to the global settings described above, you can also customize the watermark position for the featured image of a specific post. This applies to all modules where this functionality is available.
We will walk through the process using the [Articles] module as an example. Other modules follow the exact same method.
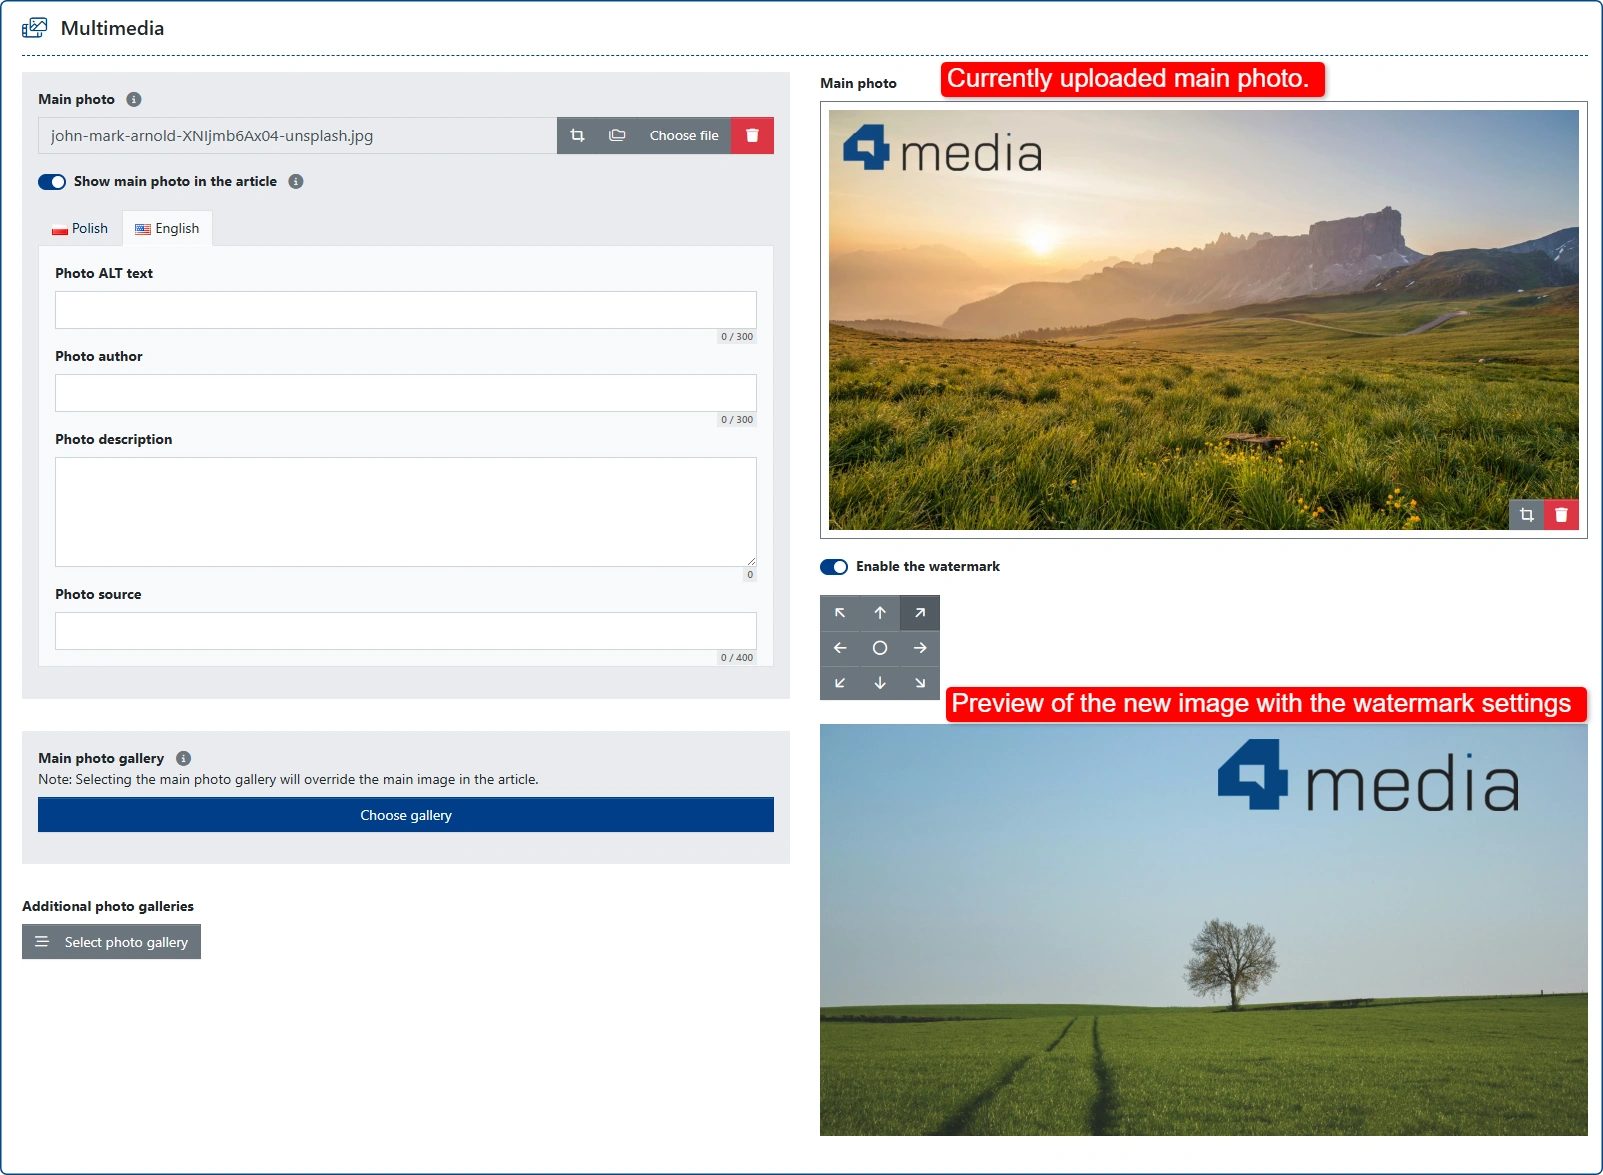
In the article edit view, within the [Multimedia] section, after uploading a featured image, the following will appear:

- "Enable the watermark" toggle along with a grid to adjust its position for this specific image. By toggling this switch, you can also completely deactivate the watermark for this graphic.
- A preview of the uploaded main photo showing the watermark visualization.
If you already have a featured image uploaded and wish to update it, the preview of the new graphic will be displayed below the currently uploaded one.
Watermarks in additional photos and galleries
These cases automatically follow the global configurations set in [Settings] > [Multimedia].

IMPORTANT: Watermark settings do not work retroactively. This means that new settings, as well as a newly uploaded logo, will only be applied to new entries or after manually editing existing ones. The same applies to additional photos and individual images in galleries.

")

