
The module is organized into five main tabs:
- Templates: A list of templates for specific page types.
- Template Appearance: Default appearance settings for templates.
- Header: Tools for editing the appearance and content of the Header.
- Footer: Tools for editing the appearance and content of the Footer.
- Homepage Planner, which allows for better control over the order, timing, and specific articles displayed on the homepage in widgets such as: Slider, News, Popular, and Most Read.
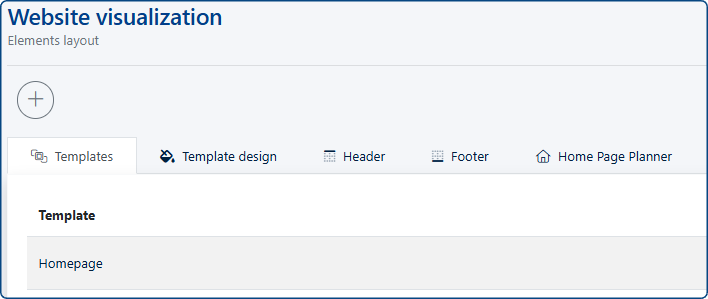
Templates
The CMS 4media system allows for the personalization of the appearance of every page type on the portal (e.g., article pages, company directory lists, subpages, etc.). Thanks to this, the publisher has complete influence over which widgets appear in a given location, deciding on the number of widgets, their content, appearance, and layout on the page.
Homepage Widget Configuration
Managing the homepage takes place in the "Page Visualization" module ("Templates" -> "Homepage"). New components are added using the "Add item" button, selecting them from the list (e.g., Weather, News).
The column layout (e.g., 50/50 or the new layouts: 1/3 and 3/4, or 1/4 and 3/4) is defined within the widget panel, and their arrangement is changed using the "drag and drop" method after clicking "Change position". Every change must be confirmed with the "Apply" button, and then "Save" for the entire portal.
Read also:
Widget settings using the “News” example:
Mobile View Management
Editing the mobile version is launched in "Page Visualization" via the "Layout change on mobile devices" button.

You will be presented with the list of widgets which are being displayed on mobile version of your website. Simply use drag and drop function to rearrange their order:
This allows for independent vertical sorting of elements. To hide an element that doesn't fit a small screen, you must uncheck the green "Visible on mobile devices" icon. For full optimization, you can duplicate a widget and set the original to be visible only on desktop (monitor icon) and the copy only on mobile (phone icon).

Following the above example, you can copy a widget to customize its styling for mobile version separately.
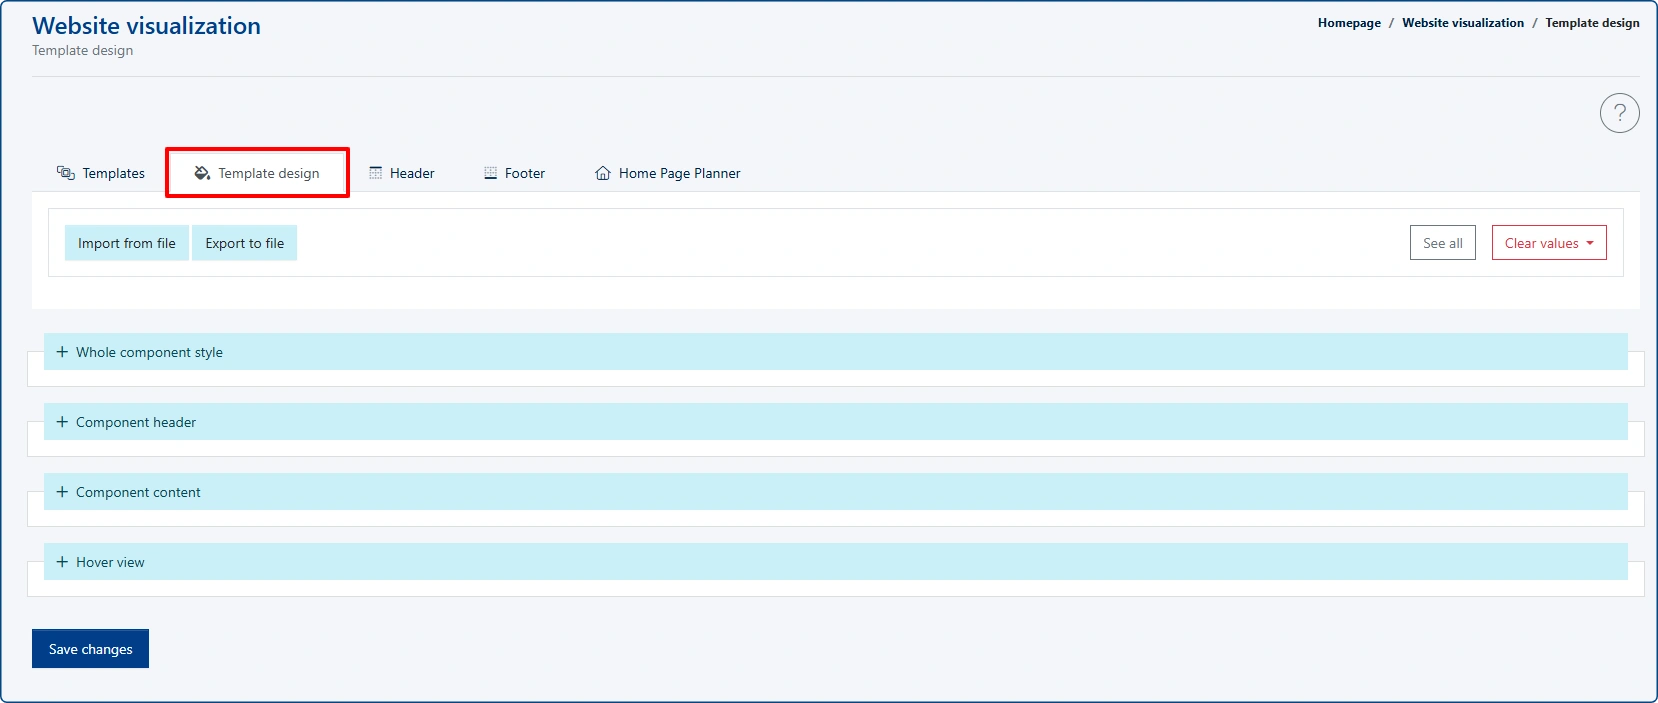
Advanced Element Styling
To go beyond standard settings, enter the editing mode of a specific widget in the template and click the "Widget appearance" button (top right corner). This opens advanced options, such as the "Header style" or "Element content" sections. This enables changing background colors, adding shadows, editing typography, and defining visual effects on hover.
Styling can be also customized globally for all widgets. Such settings are found in the second tab of the [Page Visualization] module:
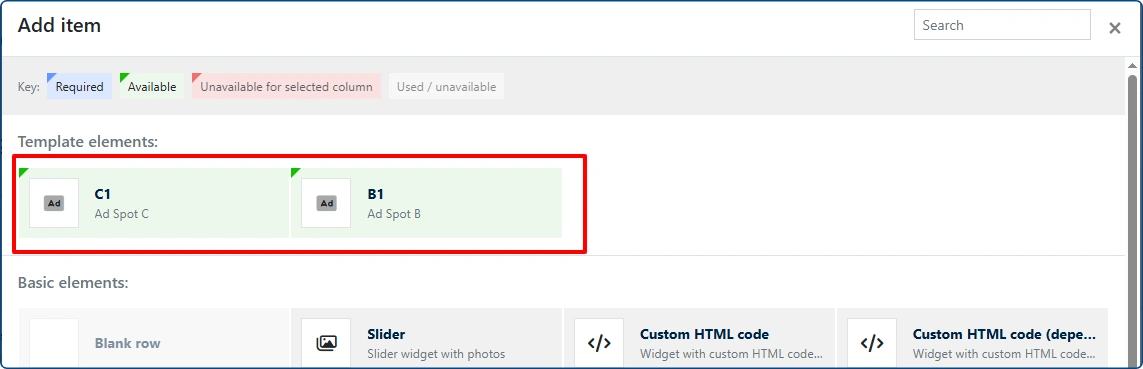
Ad Grid Implementation
Banner slots (type B and C which are placeable like widgets) are defined in the Ads4Media platform. Namely in "Ad campaigns" and "CMS4Media Portals" module. Then, in "Page Visualization", drag the named ad slot into the template structure. Managing the graphics themselves is done in the Ads4Media's "Ads" module (uploading files), and their broadcasting is launched by creating a new campaign and assigning "ad spots" to the previously created slots.
Ad banner widgets are highlighted in green:
Header Personalization
Visual changes (logo, bar colors, search bar style) are made in the "Page Visualization" module under the "Header" tab. However, content is managed separately: the menu structure is built in the "Categories" module ("Main menu" bar), and functional icons (e.g., social media) are edited in the "Top Menu" module, where you can manage their status and appearance.

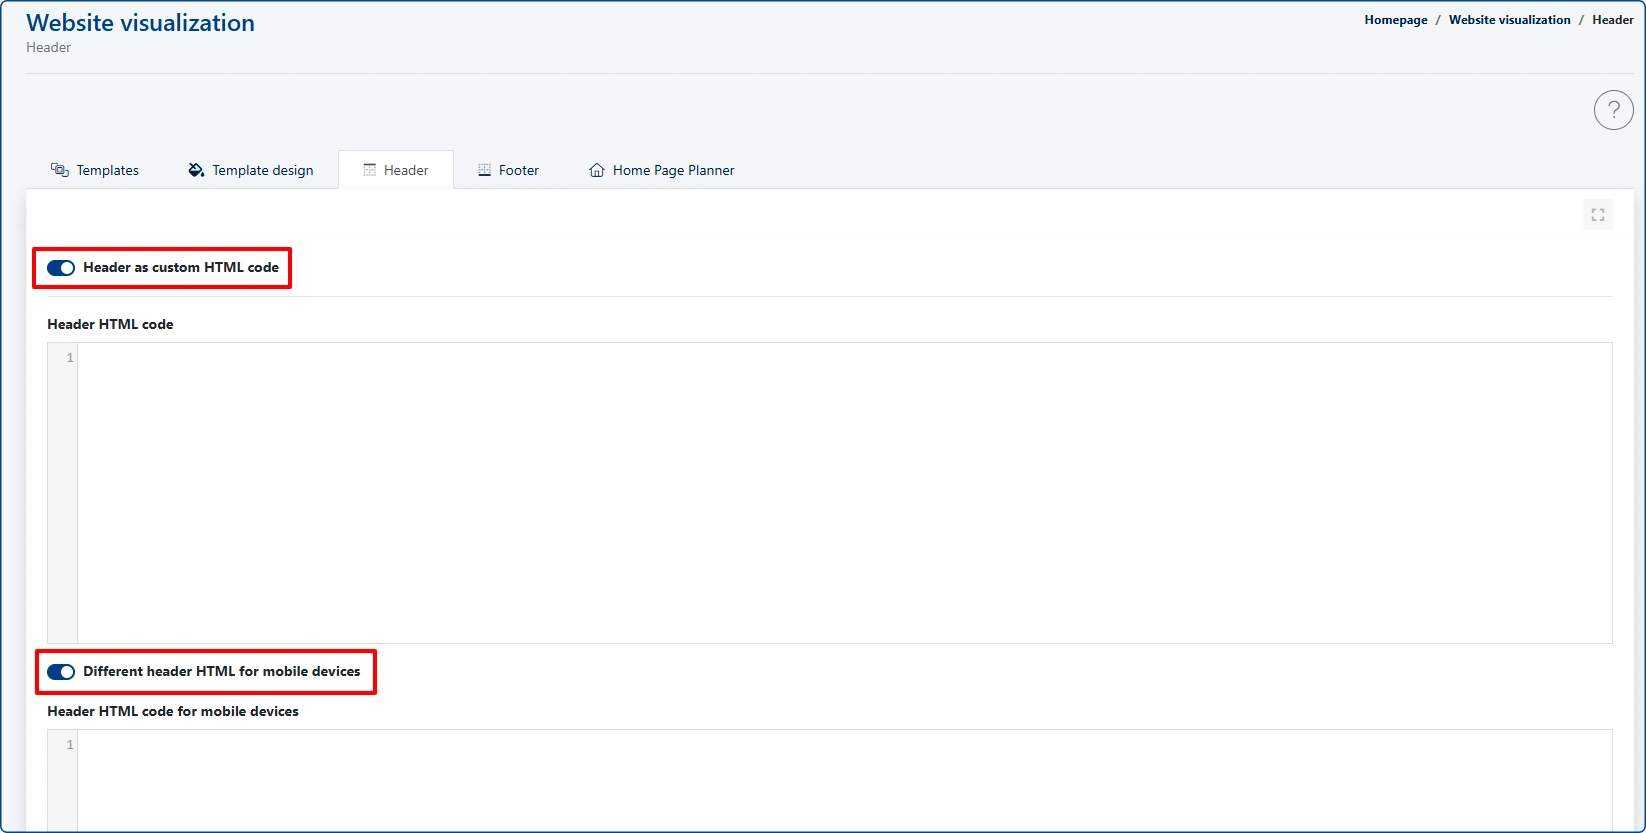
Header as custom html code
If you do not find the default header format suitable, you can create your own header using custom HTML code. To enable this option, click the “Header as custom HTML code” toggle. Once enabled, all standard settings will be replaced with a field for entering your custom header code.
You can also enable a separate version of the header for mobile devices:
Footer Editing
Configuration is performed in the bottom section of the "Page Visualization" module. Its settings are fairly similar to the ones found in [Header] section described above. There, you can enable "Footer menu", "Address data", or the Paywall module, as well as set the background (solid or gradient). For footer links to work correctly, you must first create appropriate content in the "Subpages" module, and then link them in the "Categories" module, from which the footer pulls the navigation structure. Additionally, the system allows you to disable the default layout and replace it with your own custom HTML code, available for both desktop and mobile versions.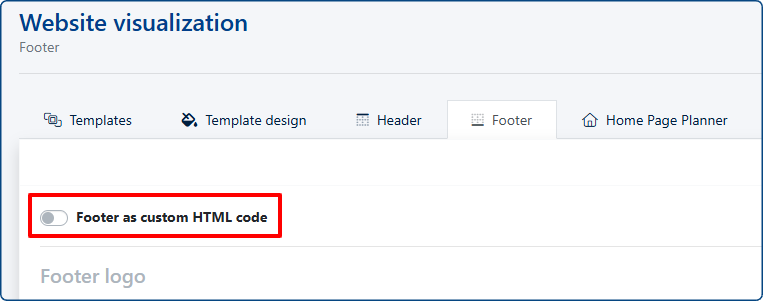

")

